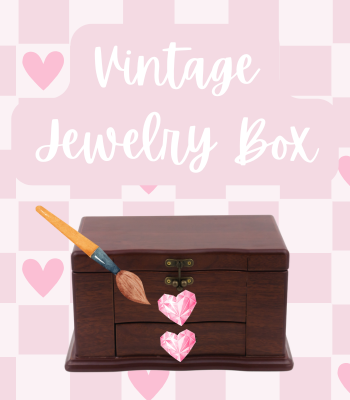
I got my start in dresser makeovers through vintage jewelry boxes. My thought process was that if I can learn to do it on a smaller scale first, that might make it easier when attempting a larger project.
The types of boxes I’m talking about are essentially mini dresser drawer chests. They would typically have 3-4 drawers and be less than 12 inches high, perfect atop a dresser or vanity table.
They are most often made from natural or dark wood grain and natural material.
Jewelry Box Makeover Tips
Clean to prep
I would shop at thrift shops and other secondhand stores or yard sales to acquire vintage jewelry boxes. Before purchasing, make sure to check for how clean they are and how many unique features it has. (The simpler the better for an easy makeover).
Sand it down
You’ll want to wear a mask and use fine grit sandpaper to sand down the outside and inside the drawers. Remove drawer lining if possible to prep for paint.
Paint
The next step is where all the fun begins, paint. For almost any color you’re going for, you’ll want to start with white base coat for a more even application all over. If you’re going for white, just apply more than one coat to make sure it’s even all over. Leave time for drying after each coat.
Decorate
The first of the finishing touches is to decorate. The options are endless, stamping, glitter, gems, stickers, patterns, lace trimming, and more.
Drawer Knobs and Pulls
The final step is to choose what drawer knobs and pulls to replace the old ones with. This step can make all the difference and should only be skipped if you really like the original pulls.
Painting Vintage Jewelry Chests
That’s it! It’s as easy as prepping your box for paint then painting and decorating to complete the transformation.
Some final tips:
- Acrylic paint is an inexpensive and long-lasting medium you can use to paint your box. You can even buy this type of paint from the dollar store. Don’t forget to check secondhand shops as well.
- Use a non-toxic varnish to seal your designs.